Sunday, February 16, 2014

The mad hatter... under the weather...

Winter, winter, winter!  Wow, it's been nothing but winter.  Luckily that family has remained fairly healthy until this past week when my son and I got the sniffles.  Sniffles make you tired and hence, I haven't been very productive in the craft room!

A short while back I got a vintage simplicity pattern off of eBay.  Although the outfit was vintagely "cute", I was more interested in the hat pattern that came with.  It's kind of a pillbox style and I hate to say it, but makes me think of a stewardess.

It went together rather quick and easy as there are two main pieces with just the accent.  I used a grey felt for the side and top and then I lined it with a stiff black lining material.  I also used interfacing of course.


The first view is a front/side view courtesy of my hand.  I should have actually made it a little bigger as the inner circumference is only 21 3/4.  I'm glad I didn't use anything too expensive as I will probably not keep this version.  When I tried it on, it was a little too snug but it looked great on my son!  As it is simple, I may make another and modify the pattern slightly.  However, I'm not for sure a pillbox style looks too good on me!

The pattern also called for a fashion buckle rather than the button I used.  I didn't want to sacrifice one of my vintage buckles if I didn't keep the hat, so I used a vintage looking new button that was hanging out in the stash begging to be used.

Below you can see the lining.  Overall, I'm pleased with that hat and how neat and crisp all the seams are.  Hubby kept telling me to add a brim... so maybe the next will have to have a brim.

Wednesday, February 5, 2014

Hattery flattery


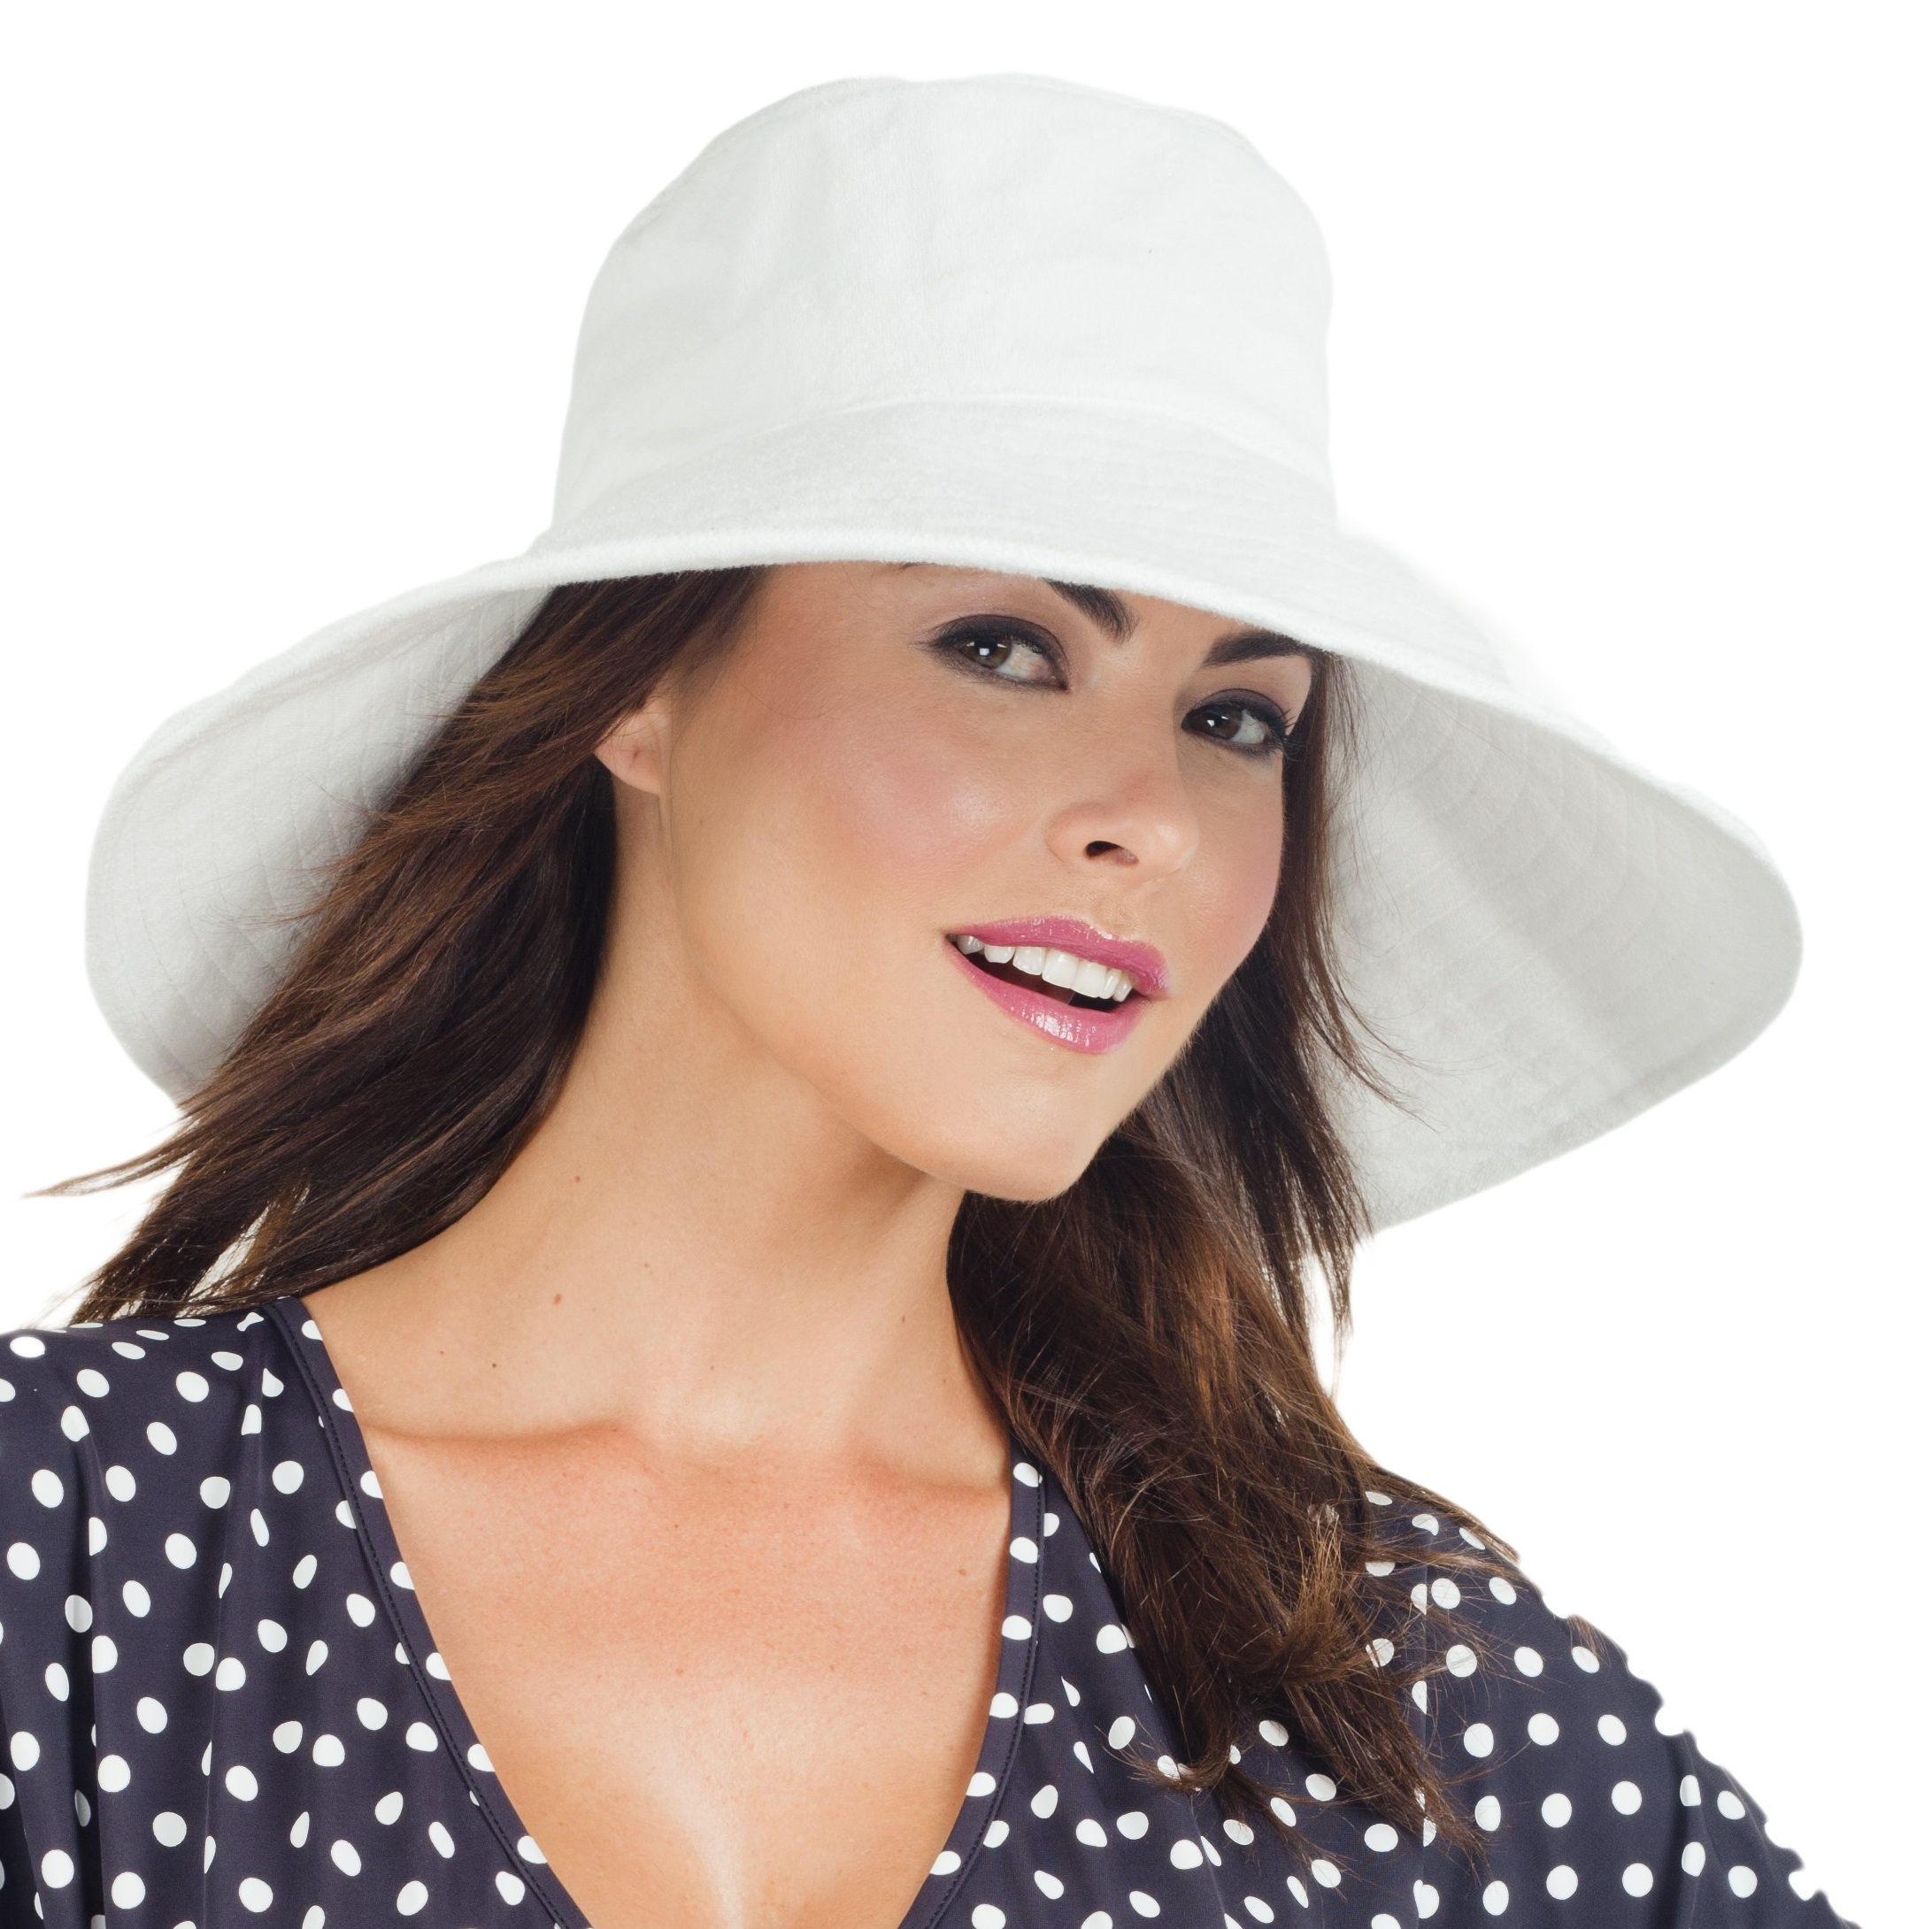
     Watch an old movie and you will see hats.  Hats that aren't just crumpled in a pile and shoved on the head for warmth, but styling hats.  It's a ladies accessory we have forgotten about.  We still spend money on shoes and jewelry, but what happened to the hat?  By the way, although I've worn my fair share of baseball caps, let's not consider them as a styling hat!

     A styling hat is just that.  It's a thought out accessory that compliments your style.  It shouldn't be an afterthought.  It is as planned as the rest of your outfit.  Granted, if you're heading to the ballpark, shove the baseball cap on your head.  Truthfully though, if you're going outside, why not style in a hat that also protects you from excessive sun exposure that can damage skin?

http://www.prweb.com/releases/2013/1/prweb10333549.htm
     Personally, I have become more and more intrigued with the cloche style hats.  Late last summer I crocheted a cloche to wear casually out raking leaves or whenever I wanted a little head covering for a little warmth.  Recently, I pulled out a McCalls hat pattern and whipped up a simple cloche hat from felt.  I made the one pictured top right below, in an afternoon.  For the center of the flowers I dug out some vintage buttons and that added a nice detail.  Overall, I was very pleased and have received quite a few compliments.  However, as the brim hits the collar of my winter coat, it will have to be modified next time.


My hat - black felt with swirl pattern - vintage buttons.

    I've also just purchased an old Simplicity pattern on eBay that has a hat included with a dress.  I'm anxious to try it out as it is kind of a simple pillbox style.  I doubt that will interfere with my coat collar.

     I've also made a fleece hat off of Simplicity pattern 1959.  I'm not highly recommended this without modifications.  The main picture on the envelope shows a cute slouch like fleece hat.  Against my better judgement, I followed the pattern instructions and I did NOT use any interfacing in the brim.  Consequently my brim looks wavy and sloppy.  I might consider making another as this hat was quick and simple even with the added lining in the crown.  (Now why would I add lining if I didn't add interfacing?  Why? WHY? WHY?!!!)
Simplicity 1959

Tuesday, January 1, 2013

Suet is for the birds!

With winter and cold weather comes all the birds to the feeder.  I have been having fun watching all the wonderful birds in my yard the last few days.  My husband is especially fascinated by all the birds my home made suet seems to bring in.  Personally, I'm not overly fond of all the store brands of suet out there.  Like most of the seed mixes, they frequently are filled with seeds that the birds don't really prefer.  Therefore, I have started making my own.

I usually start with a block or two of plain suet.  (I get mine at Rural King.)  I melt/soften it in the microwave in a large plastic container.  Then I add a scoop or two of inexpensive peanut butter and then a cup or so of corn meal.  For the seeds, I like to find a patio mix bird seed that is basically sunflower hearts (shelled sunflowers) and some peanuts.  I avoid cracked corn as that seems to attract starlings/grackles, etc.  I've also been known to throw in raisins or other dried fruits.  Don't use anything that is salted either. 

After I've mixed the suet, I bring in my hanging log feeders and stuff the holes full.  Currently that has been a challenge as I have a pileated woodpecker showing up multiple times a day.  He can really eat!

Pileated Woodpecker

Northern Flicker
Hairy Woodpecker


Kwik Sew 3915

As I was passing through Joann's the other day, I got snagged by the Kwik Sew pattern sale.  I liked the 3915 pattern for ruched neck tops and added it to my collection.
After bringing my find home, I checked out the reviews on Pattern Review.  Most of the reviews were positive and after checking some measurements, I believed it would fit me as well without major modifications.

I chose view B and used a piece of dark olive green jersey that I picked up in Springfield, Missouri while on vacation last summer.  I was concerned that the neck might be scoopier than I wanted, so I cut the neckline as an small, even though the rest of the pattern I cut as an XL.  It resulted in a wider neckband, but I don't think it looks bad.  Prior to assembling the shirt, I hand randomly placed glass beads where the neckband is ruched.
The finished shirt fits fairly well, although I believe next time... and I probably will make this shirt again... I think I will cut the arm holes a size smaller as it is a little large there.


Monday, December 31, 2012

Towel project...

I'm so tired of finding my kitchen towels on the floor!  I have revolted!


Two kitchen towels purchased for the grand price of $2.50 at Big Lots and some fabric leftovers.  I did raid the button box, but wound up purchasing 2 1" buttons at Joann's.  The top portion I just "winged", but I'm pretty pleased with it.  I know most towels like this, directions are to cut the towels in 1/2 and then each towel makes two hanging ones.  These look a little long, but the Hubby is pleased that they are big enough to actually use.

 The embroidered leaf patterns came from Embroidery Library

I have actually been thinking of making some of these for awhile and I looked into buying my own toweling fabric.  I found a couple of internet sites that had some nice selections of toweling.  Harts Fabric had some nice colors and plaids.  Also, look at Fabric Depot as well.  Of course the Big Lot's price was pretty competitive if you can find a color or design that is to your liking.


Tuesday, December 4, 2012

Nightstand... AKA American Girl Wardrobe


The American Girl Doll Company makes a very nice wardrobe for their dolls.  It's reportedly the size of a small nightstand, painted white and comes with some assembly required for a mere $349.  Possibly a great deal if hubby didn't have a few cool tools and some spare oak.

This is our version, minus the doors of course.  Hubby built it this past weekend and I just went out and stained this portion.  He will be making the doors this weekend and I need to hurriedly get some appropriate doll hangers so we know what size of "closet rod" we can install.  The side shelves were built based on some simple storage trays I purchased.  I will be making the storage board for the inside of the big door and the little fabric pockets to hang on the inside of the small door this weekend.


Our plan is for her to use this now to help hold her doll and clothes.  Maybe in 12 years, she will want to take it to college as an actual night stand.  It's solid oak so it should be a classic piece that will last.

American Girl version

Posted by Picasa

Thursday, November 29, 2012

Green Pepper Fleece Socks


Cold feet?  Ever laid in bed waiting for your feet to warm up so you can go to sleep? 

Polar Socks - Adults/Kids
Green Pepper Polar Socks
I Googled some possibilities, but finally sprung for the Green Pepper pattern for fleece socks.  (Amazing... I actually bought a pattern at regular price, but with a 40% off store coupon!)

I pulled a piece of fleece from my stash... a lovely lavendar... probably originally purchased with the idea of jammies for my daughter....

I traced what I hoped would work for me, as the pattern is multi-sized.  With only three pieces, the layout and cut-out went quick.  Much to my dismay, I could not find my stash of footie fabric with the rubber grippers.  I finally just sewed them up using my regular machine and a stretch stitch.  A quick try-on and I was pleased.  Now I'm contemplating making some for Christmas gifts but adding a little machine embroidery.

 Future pairs will definitely get gripper fabric on the sole.  One web site suggests using raised or puffy fabric paint in a zig-zag pattern on the sole.  As I have already sewn my trial pair, I may pull out some fabric paint and see what happens.  One other site said that it was lumpy/hard feeling and they didn't like it, but then I'm thinking of doing a double sole just for added warmth on cold floors.  Another suggestion was to use clear silicone in a tube from the hardware store and painting/working it into the fabric.